
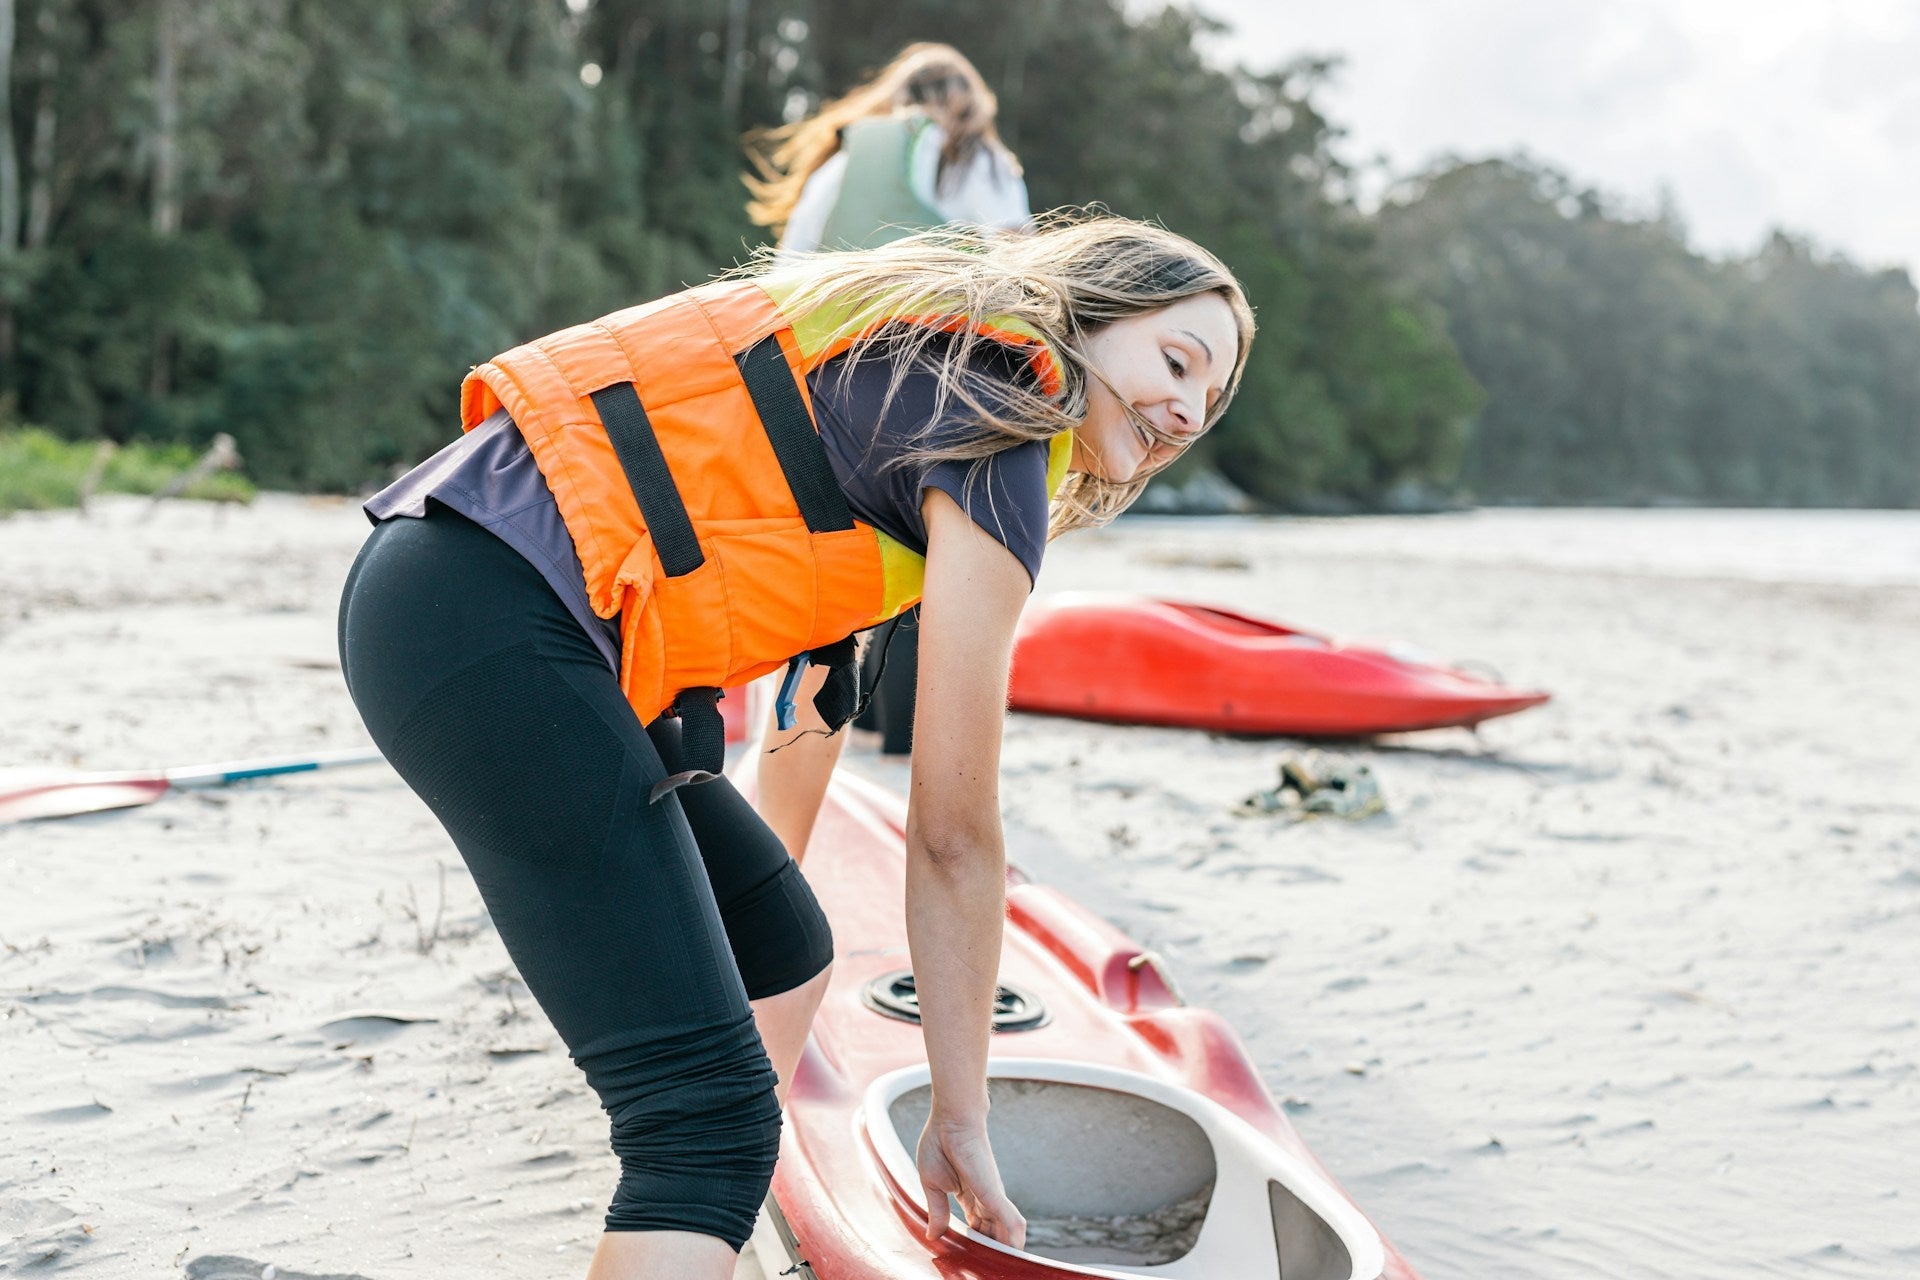
Small rips in your kayak pants can be frustrating, especially when you’re looking forward to a paddle and spot a tear just as you’re getting ready. While it’s tempting to stuff them back into the gear bag and hope for the best next time, dealing with those rips sooner rather than later can save you money, keep you dry, and make your time on the water much more enjoyable. The good news is, you don’t always need to rush out and buy a brand-new pair. With the right tools and clear steps, small repairs can be done with ease at home.
Paddlers around Sydney know that gear doesn’t stay perfect forever. Sharp twigs, rough rocks, or even a stray zip on your car boot can cause damage when you least expect it. A small rip might not seem like a big deal, but leave it be and the tear will likely grow with each outing. Staying on top of these repairs helps extend the life of your kayak pants and keeps you paddling comfortably for longer. Below, we’ll walk through what you’ll need and how to do a proper patch job that lasts.
Gathering Your Repair Materials
Before starting your repair, it’s good to know what tools and supplies will set you up for success. You don’t need anything too fancy, but reaching for the right materials makes everything easier. Here’s what to grab:
- Patch material: Nylon, polyester, or other synthetic fabrics similar to your pants work best. If your kayak pants came with a repair kit, use that. Otherwise, a waterproof patch or even a section from an old piece of gear will do.
- Adhesive: Look for fabric-specific repair glue. Seam sealant can be a good match if you're after a flexible finish.
- Scissors or a rotary cutter: You’ll need something sharp for clean cuts.
- Rubbing alcohol and a cloth: These help clean the area before you apply any adhesive or patch.
- Iron or heat source (for heat-activated patches): If using iron-on patches, make sure your iron is clean and dry.
- Small brush or cotton swab (optional): Useful for applying adhesive precisely.
If you're unsure about adhesives, opt for flexible glue designed for outdoor fabrics. It tends to move better with your clothing and holds up on the water. Some paddlers keep old outdoor clothes specifically to cut apart for repairs, so you don’t have to jump straight to buying patch material.
Preparing The Damaged Area
Once your tools and materials are ready, the next step is prepping the damaged section. This part is often skipped, but it makes a big difference in how well your patch sticks.
1. Clean the fabric: Using a cloth and rubbing alcohol, gently wipe down the entire area around the rip. This clears off dirt, oils, or sunscreen residue that might stop the patch from sealing properly.
2. Let it dry fully: Damp fabric doesn't bond well. Give it at least 10 to 15 minutes, or use a dry cloth to speed things up.
3. Trim loose threads: Carefully cut away any fraying material without making the hole bigger.
4. Check the shape of the tear: If it’s a straight rip, push the edges neatly together. If it's a hole or jagged tear, you'll need a patch that overlaps by about an inch on all sides.
5. Cut your patch: If you're using a fabric piece, round off the corners. This helps prevent peeling over time.
One example we’ve seen around Sydney is paddlers coming back from a rocky shoreline trek with minor scrapes right on the knee sections. These areas take a lot of tension while kayaking, so skimping on clean prep and patch size can cause the repair to fail. Taking time now saves another fix later.
Applying The Patch
Now that the tear is prepped and your patch is shaped to size, it’s time to apply it. There are two main ways to attach a patch to kayak pants: using glue-on adhesives or heat-based iron-on patches. Which one you go for depends on the materials you have and how confident you feel using heat on fabric.
For adhesive-backed patches:
1. Lay your kayak pants flat on a clean table or surface.
2. Peel the backing from the patch carefully without touching the sticky side.
3. Place the patch over the tear, making sure it extends evenly around all edges.
4. Press firmly with your palm or a cloth, applying even pressure across the patch.
5. Let it set for the amount of time recommended on the patch instructions. Avoid handling the area while it bonds.
For glue-on fabric patches:
1. Turn the pants inside out if the tear is better patched from the inside. Some paddlers prefer doing both sides for stronger reinforcement.
2. Apply a thin layer of adhesive around the edges of the rip on the patch and/or the pants – use a brush or cotton swab for precision.
3. Place the patch down and flatten it out, pressing evenly to remove air bubbles.
4. Let it dry fully before moving the pants. This can take several hours.
For iron-on patches:
1. Preheat the iron to a medium heat setting without steam.
2. Place a cloth or piece of parchment paper over the patch before applying heat.
3. Press the iron firmly over the patch for 20 to 30 seconds.
4. Let the patch cool down and check that all the edges have sealed.
If anything starts to curl up around the sides after a few hours, apply another small amount of adhesive and press it down again with your hands. This usually fixes spots that didn’t get proper pressure the first time round.
Testing And Final Adjustments
Once everything's cooled and dried, the next job is checking how well the patch is holding up. Don’t wait until you’re halfway out on the water to find a weak spot. A little testing at home helps catch problems before they’ve got the chance to ruin your day.
Here’s what to do:
- Gently tug at the patch to check if the edges lift or stretch. Give it a firm, even pull without being too rough.
- Put the pants on and move around in them. Kneel, stretch, or squat to make sure the patch flexes comfortably with your movements.
- Run your fingers around the edges. If anything feels loose or lifts with pressure, consider going over that section again with adhesive.
Some paddlers add a second patch over the first one for extra protection, especially in areas that take regular wear like knees or the seat. If you go this route, make sure both layers are bonded properly, or you’ll have fabric chafing against fabric every time you move.
When done properly, the patch should hold through wet conditions, stretching, and regular use. That said, it’s always smart to keep an eye out for changes over time. Check your repair jobs occasionally and don’t be afraid to touch them up if they start to weaken.
Back On The Water Without Worry
Fixing small rips in your kayak pants isn’t just about keeping a dry backside. It’s about comfort, confidence, and making sure nothing distracts you when you’re trying to enjoy Sydney’s waters. A good repair can last for ages if you take the time on prep, use the right materials, and do a proper check after.
Just because a tear happens doesn’t mean the pants are finished. Paddling gear takes a beating. Rocks, sand, oyster shells all have a way of leaving their mark. Knowing how to handle the wear and tear yourself gives you a bit more peace of mind next time you're launching from a rough shoreline or climbing in and out of your ski.
For those with older gear where patches are becoming a monthly task, it might be time to consider replacing a few key items. If that’s the case, make sure to choose replacements with strong fabric that suits your usual paddling conditions. Reliable gear makes a difference, especially when it’s matched to the way you paddle.
Keeping your gear in top shape makes every paddle smoother and more enjoyable. If your current pair is beyond repair, take a look at our range of durable kayak pants designed for long days on the water. At Nordic Kayaks NSW, we’re here to help you stay comfortable and confident with the right gear for your next Sydney adventure.